


There is something deeply nostalgic about the aroma of cinnamon and sizzling butter filling a kitchen on a slow weekend morning. For those living a gluten free journey, finding a way to replicate that perfect, pillowy texture of traditional French toast can often feel like a challenge. Too often, gluten free versions end up either too dry or completely fallen apart.
This gluten free breakfast recipe changes that narrative, providing a reliable method to create a decadent, café-quality breakfast at home that everyone, regardless of dietary needs, will absolutely love.
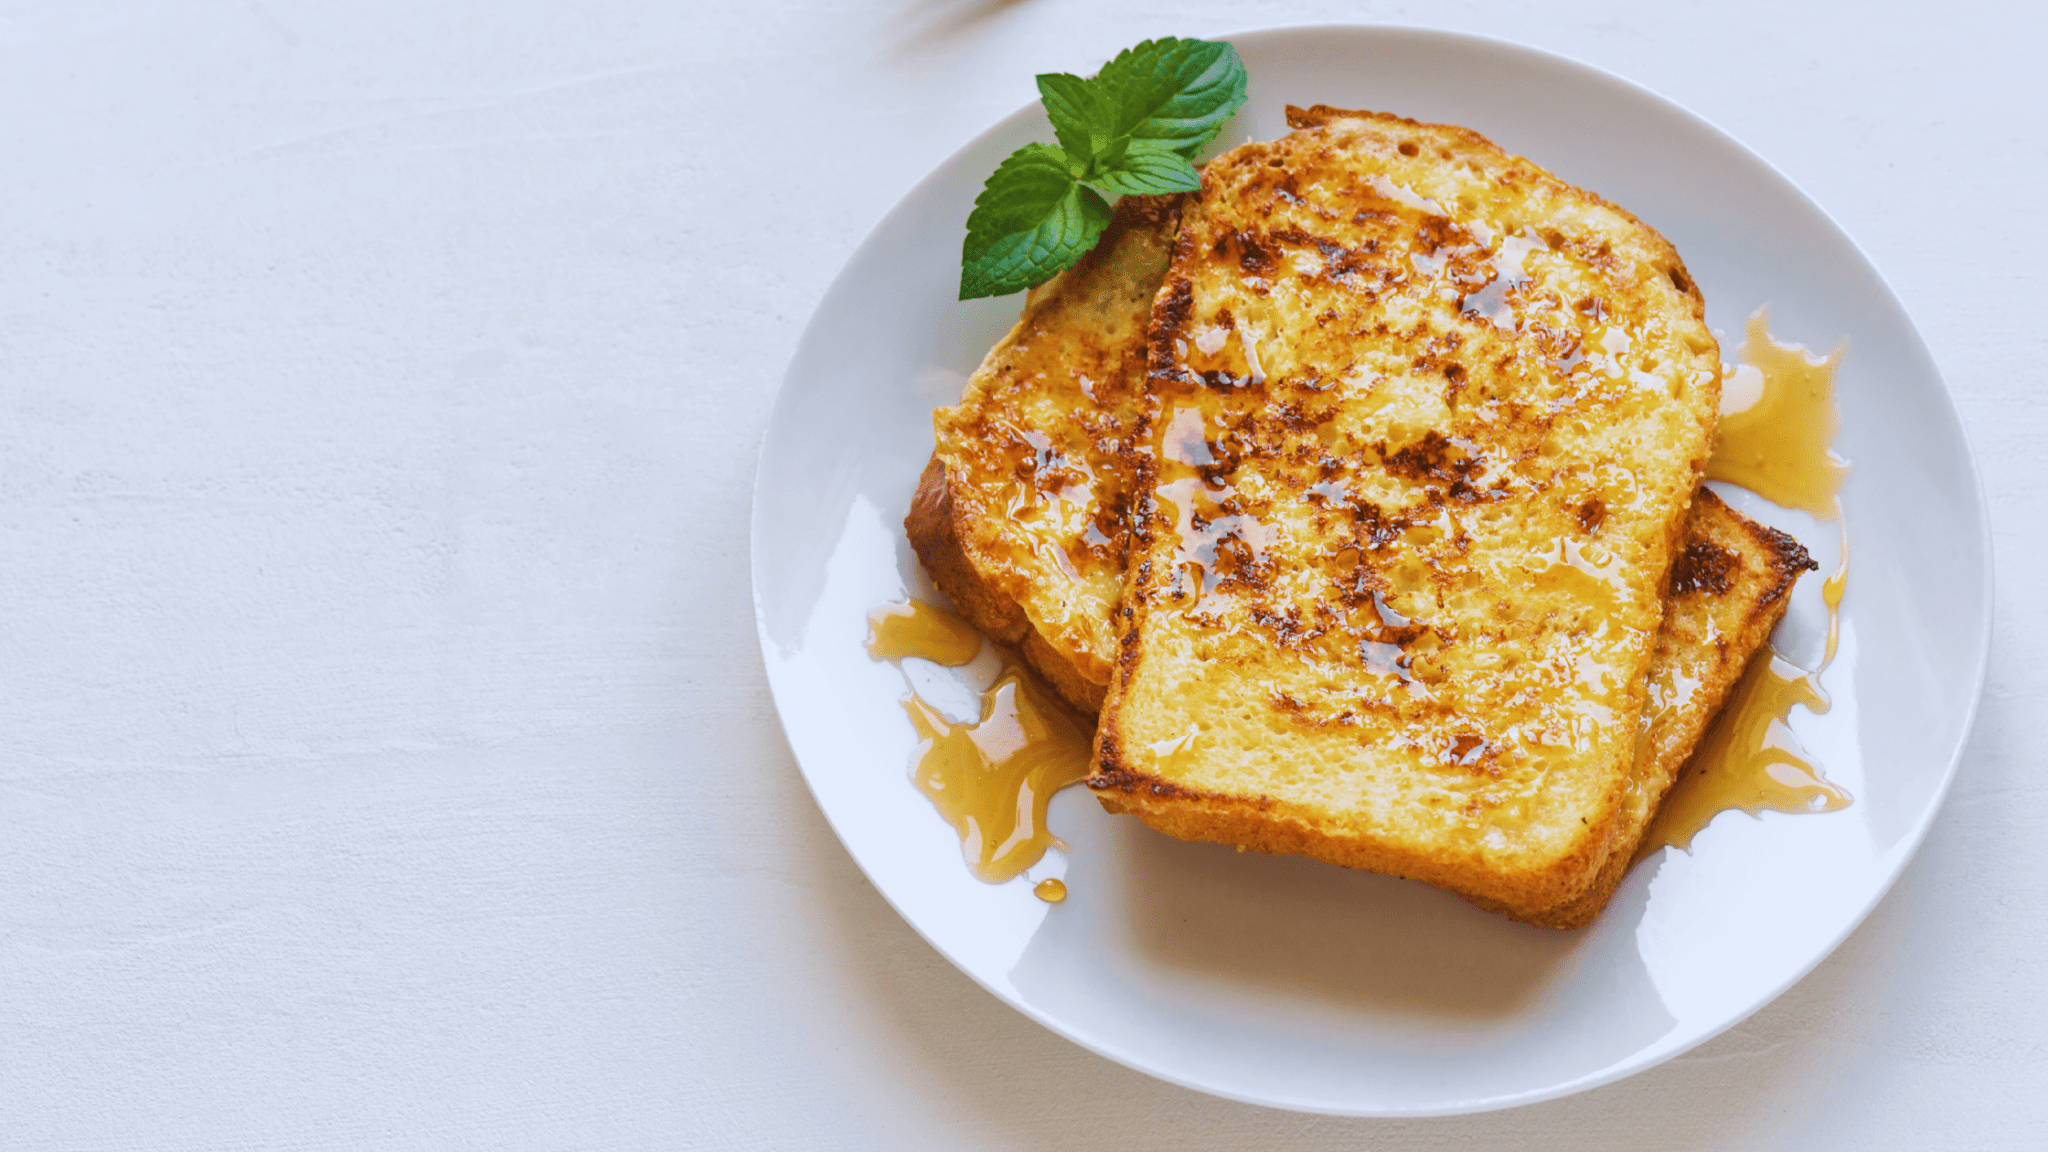
Gluten Free French Toast
Ingredients
- 2 tablespoons butter melted
- 2 large eggs
- 2 tablespoons maple syrup
- 1 teaspoon vanilla extract
- 1 teaspoon cinnamon
- ¾ cup milk
- 4-6 slices gluten free bread Promise Brioche is a favourite
- pinch salt
Equipment
Instructions
- Add all ingredients (except bread) to a large bowl and whisk together2 tablespoons butter, 2 large eggs, 2 tablespoons maple syrup, 1 teaspoon vanilla extract, 1 teaspoon cinnamon, 3/4 cup milk, pinch salt
- Heat a griddle or skillet on medium-high heat and coat pan lightly with butter
- Soak gluten free bread for 1 to 2 minutes per slice in mixture4-6 slices gluten free bread
- Add soaked bread to pan and cook 2-4 minutes per side, until both sides are golden brown
- Serve!
Nutrition Details
Calories –136.44kcal
Recipe Notes
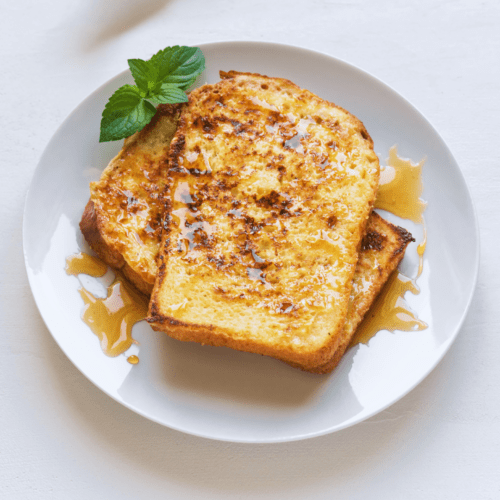
Enjoy as is or serve with maple syrup or powdered sugar and fresh fruits!
Did you enjoy this gluten free recipe?
Let us know how it was in the comments below!The Art of the Gluten Free French Toast Soak
The foundation of any great French toast is the bread, but when working with gluten free loaves, the rules change slightly. Gluten free bread tends to be denser and sometimes drier than its wheat-based counterparts. While this might seem like a disadvantage, it is actually a secret weapon for French toast. Because the bread is sturdy, it can withstand a longer soak in the custard without becoming structural mush.
When selecting your bread, look for thick-cut slices. If you have a loaf that hasn’t been pre-sliced, cutting it into one-inch “Texas toast” style slabs is ideal. This thickness allows the outside to caramelize while the inside transforms into a bread-pudding-like consistency. If your bread is very fresh and soft, consider lightly toasting it in a low-temperature oven for a few minutes or leaving the slices out on the counter overnight. This “staling” process ensures the bread acts like a sponge for the custard.
Crafting the Perfect Custard
The custard is where the flavour lives. A standard ratio is usually one egg for every quarter-cup of milk, but for a richer experience, you can swap a portion of the milk for heavy cream or full-fat coconut milk. Whisking the eggs thoroughly is vital; you want a cohesive liquid without “streaks” of egg white, which can cook into unsightly patches on the bread.
Flavouring the custard is where you can get creative. While vanilla extract is the gold standard, a splash of almond extract or even a hint of orange zest can elevate the dish. Ground cinnamon is essential, but adding a pinch of nutmeg or cardamom provides a sophisticated warmth that cuts through the sweetness of the maple syrup later on.
Mastering the Griddle
The cooking process requires patience. A medium-low heat is your best friend here. If the pan is too hot, the exterior of the gluten free bread will burn before the custard in the center has had a chance to set. Using a combination of butter and a tiny bit of neutral oil (like avocado or grapeseed) prevents the butter from burning while still providing that signature buttery flavour.
Place the soaked slices into the pan and resist the urge to move them. Let them sit for three to four minutes until a deep golden-brown crust forms. When you flip them, you should see a beautiful “lace” of caramelized sugar and egg.
Elevating Your Toppings
While pure maple syrup is the classic choice, consider variety. Fresh berries add a necessary acidity that balances the richness of the custard. For a more decadent treat, a dollop of whipped mascarpone or a drizzle of almond butter adds protein and depth. If you prefer a savoury-sweet profile, a side of crispy bacon or a sprinkle of flaky sea salt over the syrup can create a multi-dimensional flavour profile that keeps you coming back for more.
Make-Ahead and Storage
Gluten Free French Toast is surprisingly meal-prep friendly. You can cook a large batch on Sunday, let the slices cool completely on a wire rack, and freeze them in a single layer. On busy weekday mornings, simply pop a frozen slice into the toaster or air fryer. This method restores the crisp exterior much better than a microwave would, making a high-quality breakfast accessible even when you’re short on time.
Frequently Asked Questions About This Recipe
What is the best type of gluten free bread for French toast?
A sturdy white or brioche style gluten free bread works best. Look for brands that offer “wide-slice” or “thick-cut” options, as these hold up better during the soaking process than thin, sandwich-style slices.
Why does my French toast always turn out soggy?
Sogginess usually happens for two reasons: soaking the bread for too long or cooking at too high a temperature. If the heat is too high, the outside cooks before the inside is done. Try a medium-low heat and ensure your bread is slightly stale or dry before dipping.
Can I make this recipe dairy-free?
Absolutely. You can substitute the cow’s milk with any high-quality plant-based milk. Unsweetened almond, soy, or oat milk (ensure it is certified gluten free) work well. For a richer dairy-free custard, use full-fat canned coconut milk.
How long should I soak gluten free bread?
Because gluten free bread is often more dense, it usually requires a soak of about 15–30 seconds per side. If the bread is particularly dry or thick, you can go up to 45 seconds.
Can I use an egg replacer for a vegan version?
Yes, though the texture will differ slightly. A “flax egg” or a commercial liquid egg replacer can be used. If using flax, the crust will be less “crispy” and more “nutty.”
Can I freeze leftovers?
Yes! Once cooled, freeze slices in a single layer on a baking sheet before transferring them to a freezer bag. They keep well for up to two months and can be reheated directly in the toaster.

Great, classic gluten free french toast. I really enjoyed the taste, although I would probably use less nutmeg next time. I used the rest of a loaf of Promise brioche bread that we had bought the night before, so that made it extra tasty. I also cover the pan with a lid so the middle will also cook.
Works out perfect every time!
This is a great, simple recipe for gluten free french toast. If your using thicker bread or are soaking the bread for a while, I would suggest covering the griddle or pan with a lid. This will cook the inside of the bread, making it less soggy….I also prefer to use butter or margarine in the pan rather than oil, gives it more flavor.
I have now tried this with every gluten free bread I eat, and every one worked. Love this french toast!
Love, love, LOVEEEEEE this recipe!
Love making this with the Gluten Free Brioche bread from Promise Gluten Free!
Excellent French toast! I follow the directions to a T and included the vanilla (I used crushed vanilla) and came out perfectly 😋
Made it for my husband and myself and we both love it. Will definitely be making them again.
I always make a new recipe as directed, this one needs no tweaking! Super good and easy, family loved it! Thank you very much for sharing!
Easy, simple, and quick to make in the morning for the kids or family
Followed recipe including optional items and loved this French toast. I used a Gluten Free Brioche bread. Served with butter, pure maple syrup and blackberries.
Turned out great. I only cooked them for less time because I had my heat on higher
Really good! I thought of it as pancake when I ate it , terms of texture, which is awesome as it didnt have a rubbery texture that some catch with the egg
Everyone LOVED this French toast. I normally dont like homemade frnch toast because it always has a egg taste to it but this recipe didnt have that at all. It tasted delicious! I doubled the recipe to feed my fam of 7 and did half milk half heavy cream and it came out perfectly.
I liked how easy it was to make and how delicious it was. And I would suggest Thicker Bread would be a great idea .
Thank you for your sharing. It was a great recipe!