


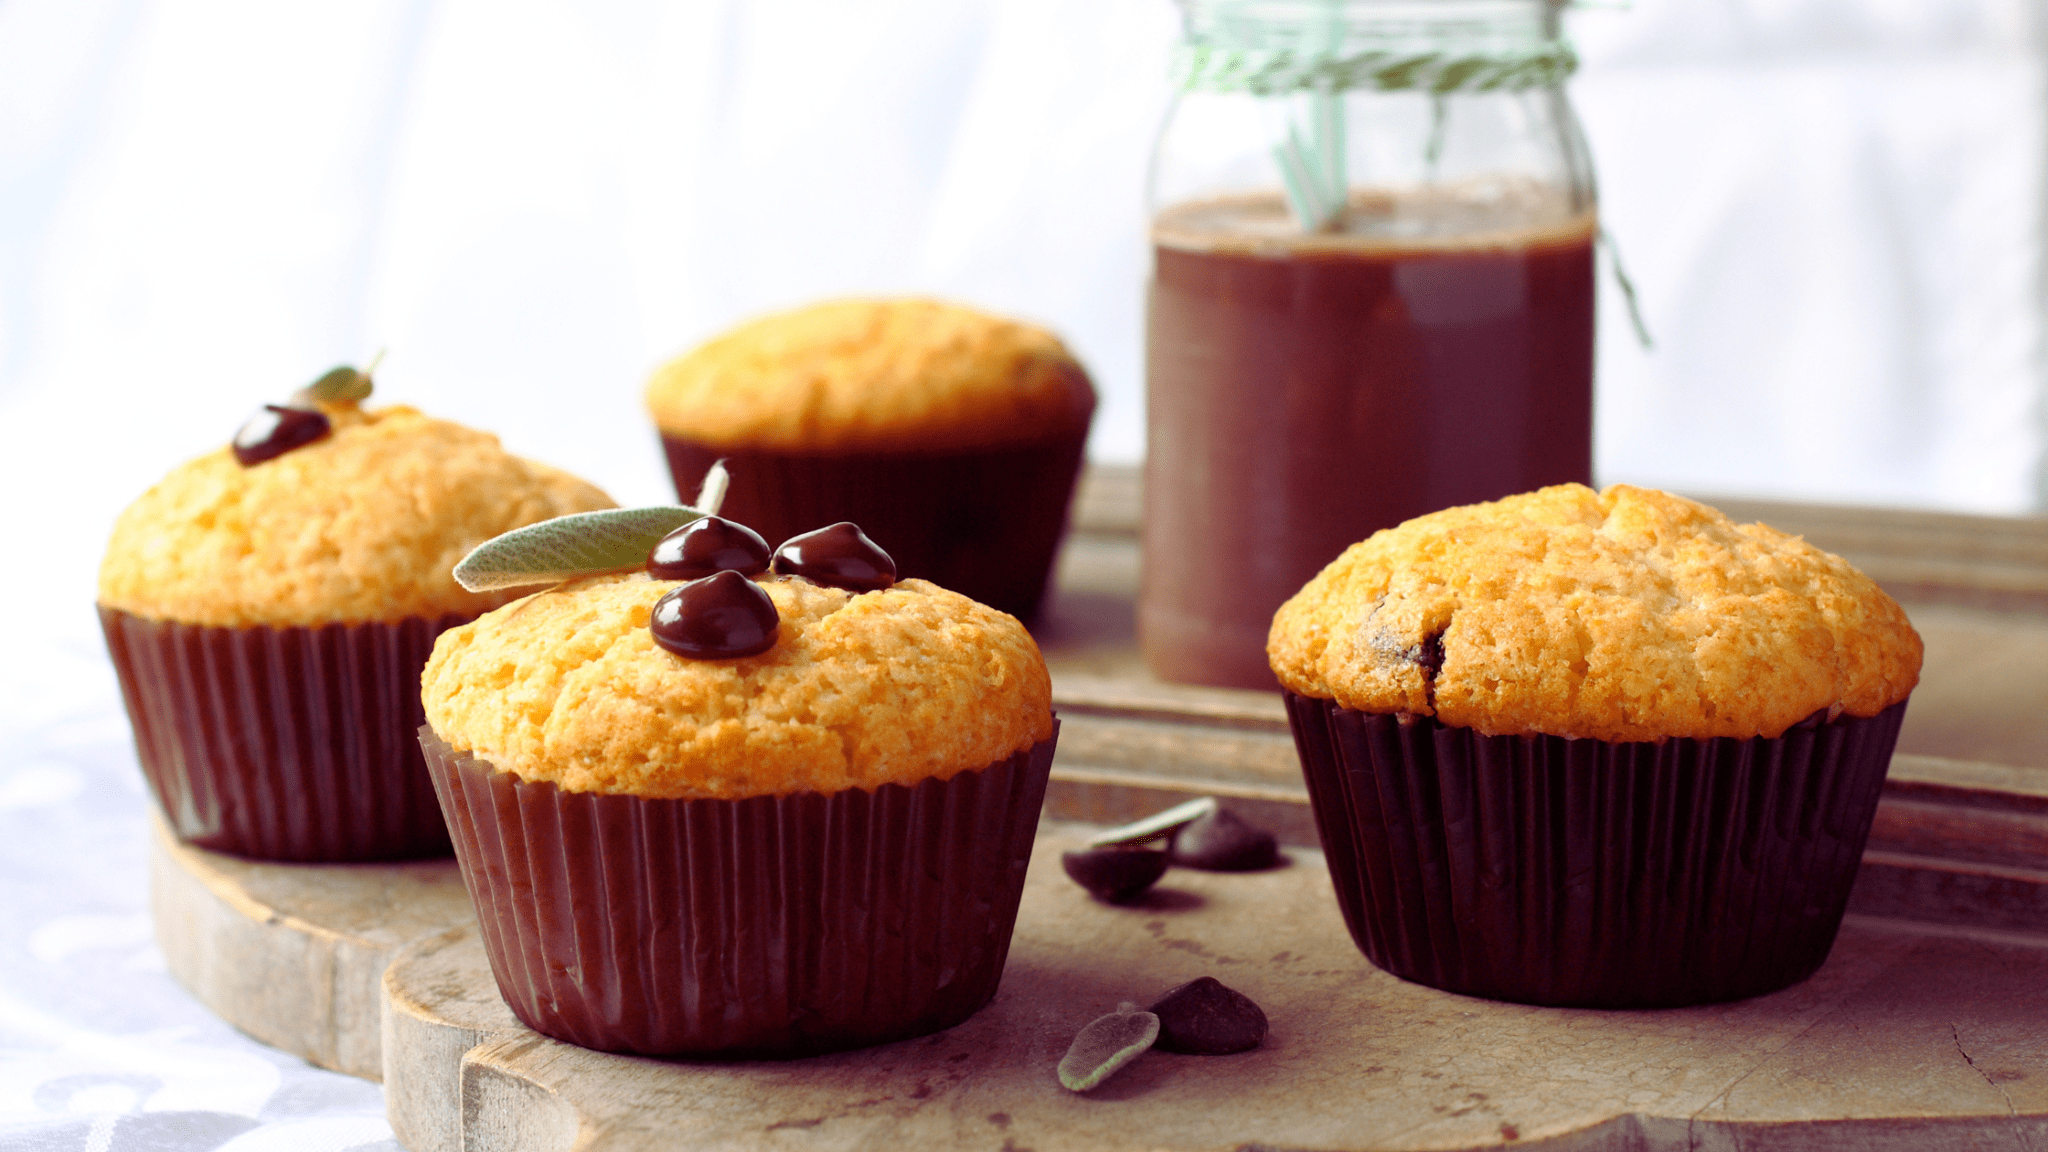
Finding a muffin that hits that perfect balance of a light, airy interior and a slightly crisp, sugar-dusted top can be a challenge in the world of gluten free baking. Many store-bought options are either too dense or crumble the moment you take a bite. This recipe for gluten free chocolate chip muffins is designed to change that.
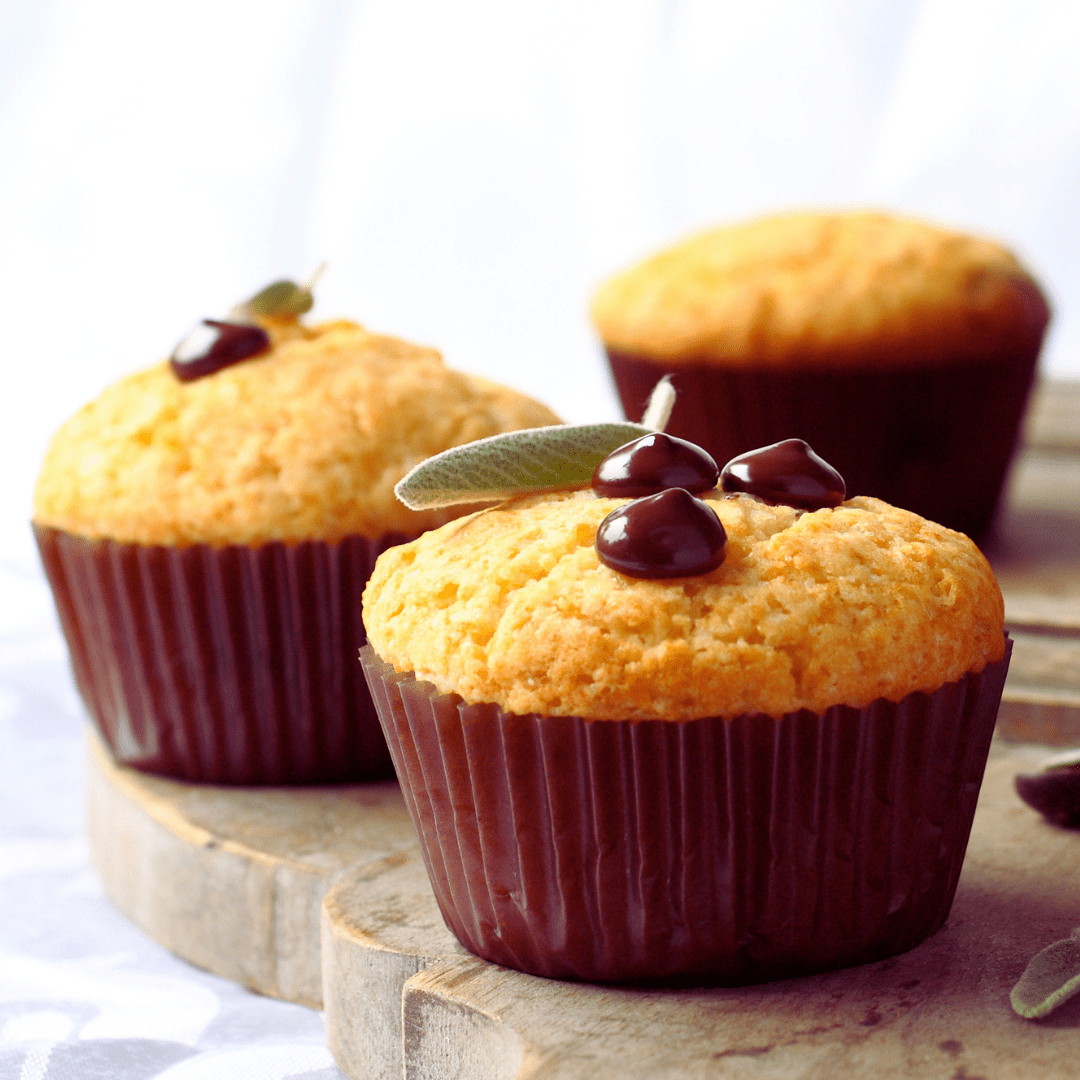
Whether you are looking for a quick breakfast on the go, a lunchbox treat, or a cozy afternoon snack with coffee, these muffins deliver a satisfying texture and rich chocolate flavour that will please everyone at the table, regardless of their dietary needs.

Gluten Free Chocolate Chip Muffins Recipe
Ingredients
- 2 ½ cups gluten free all purpose flour
- 1 tablespoon baking powder
- 1 teaspoon baking soda
- ½ teaspoon salt
- ½ cup unsalted butter soft
- 1 cup sugar
- 2 eggs large
- 1 cup buttermilk
- 1 tablespoon vanilla extract
- 2 cups semi-sweet chocolate chips
Instructions
- Preheat oven to 425°F
- Spray a 12 cup muffin tray with non-stick cooking spray or line with paper liners
- In a large bowl, toss together the flour, baking powder, baking soda, salt and chocolate chips, set aside2 1/2 cups gluten free all purpose flour, 1 tablespoon baking powder, 1 teaspoon baking soda, 1/2 teaspoon salt, 2 cups semi-sweet chocolate chips
- In a medium bowl, whisk together the melted butter, sugar, eggs, buttermilk and vanilla1/2 cup unsalted butter, 1 cup sugar, 2 eggs, 1 cup buttermilk, 1 tablespoon vanilla extract
- Gradually add to the dry ingredients
- Slowly fold together until just combined
- Divide the batter into the 12 muffin cups and bake at 425°F for 5 minutes
- Reduce temperature to 375°F and continue to bake for another 12-15 minutes or until a toothpick inserted into the center comes out clean
- Let cool for about 5-10 minutes and enjoy warm
Nutrition Details
Calories –389.91kcal
Did you enjoy this gluten free recipe?
Let us know how it was in the comments below!The Secret to Perfect Gluten Free Chocolate Chip Muffins
Baking without gluten requires a few specific techniques to ensure your treats aren’t dry or gritty. When it comes to muffins, the goal is a “high-dome” appearance and a soft, cake-like center. To achieve this, the moisture-to-flour ratio must be precise. Gluten free flours, often made from rice, potato, or tapioca, absorb liquid differently than traditional wheat flour.
The Importance of “Resting” the Batter
One of the most effective ways to improve the texture of your gluten free muffins is to let the batter rest for about 15 to 20 minutes before putting them in the oven. This allows the rice flour in your blend to fully hydrate. Hydrated flour leads to a smoother mouthfeel and prevents that “sandiness” often associated with gluten free baked goods.
Temperature Control for Bakery-Style Tops
To get those tall, professional-looking muffin tops, try starting your oven at a higher temperature (around 425°F) for the first five minutes of baking, then dropping it down to 350°F for the remainder of the time. This initial burst of heat activates the leavening agents quickly, pushing the batter upward before the crust sets.
Choosing Your Chocolate
While standard semi-sweet chocolate chips are the traditional choice, don’t be afraid to experiment. Using a mix of mini chocolate chips and large chocolate chunks ensures that every single bite is filled with chocolate. The mini chips distribute throughout the batter, while the larger chunks create delicious “puddles” of melted chocolate on top.
Customizing Your Muffins
This recipe serves as a versatile base. If you want to add more depth of flavour, consider adding a teaspoon of cinnamon or a dash of espresso powder, which enhances the richness of the chocolate. For a dairy-free version, simply swap the butter for a high-quality vegan buttery stick and use almond or oat milk.
Storage and Freshness
Because gluten free baked goods can dry out faster than their wheat counterparts, storage is key. Once completely cool, store these muffins in an airtight container at room temperature for up to two days. For longer storage, these muffins freeze beautifully. Simply wrap them individually in plastic wrap and place them in a freezer bag. When you’re ready for a treat, a quick 20-second zap in the microwave will bring back that “just-out-of-the-oven” softness.
Frequently Asked Questions About This Recipe
Can I use any gluten free flour for this recipe?
For best results, use a high-quality “1-to-1” or “measure-for-measure” gluten free flour blend that already contains xanthan gum. This ingredient acts as the binder that replaces the elasticity of gluten.
Why did my muffins turn out dry?
Dryness is often caused by over-measuring the flour. When measuring gluten free flour, use a spoon to fluff the flour and then scoop it into the measuring cup, leveling it off with a knife. Never pack the flour down.
How do I prevent the chocolate chips from sinking to the bottom?
Toss your chocolate chips in a tablespoon of the gluten free flour blend before folding them into the batter. This light coating helps them “grip” the batter so they stay suspended during baking.
Can I make these muffins vegan?
Yes! Replace the egg with a flax egg (1 tablespoon ground flaxseed meal + 3 tablespoons water) and use your favourite dairy-free milk and butter alternatives.
What makes these muffins moist?
The combination of buttermilk and butter in this recipe provides a double hit of moisture and fat, ensuring a tender crumb that stays soft for days.
Why is my batter so thick?
Gluten free batter is typically thicker than traditional muffin batter, more like a soft dough. Do not be tempted to add extra liquid, as this can cause the muffins to collapse after they rise.
These turned out to be really great muffins!
Used some regular chocolate chips I already had opened, good but not as chocolatey as with the minis, I’ll use them next time. I added another 1/4 cup of milk and a tbsp of vanilla to moisten the batter a bit.
My kids love this recipe, very quick and easy. I never add the sugar topping and they are still delicious.
I don’t usually comment or rate recipes but this one is an absolute keeper!
It was amazing!!!!!
Love Love Love this muffin recipe