
Easy Homemade Gluten Free Vanilla Custard Recipe
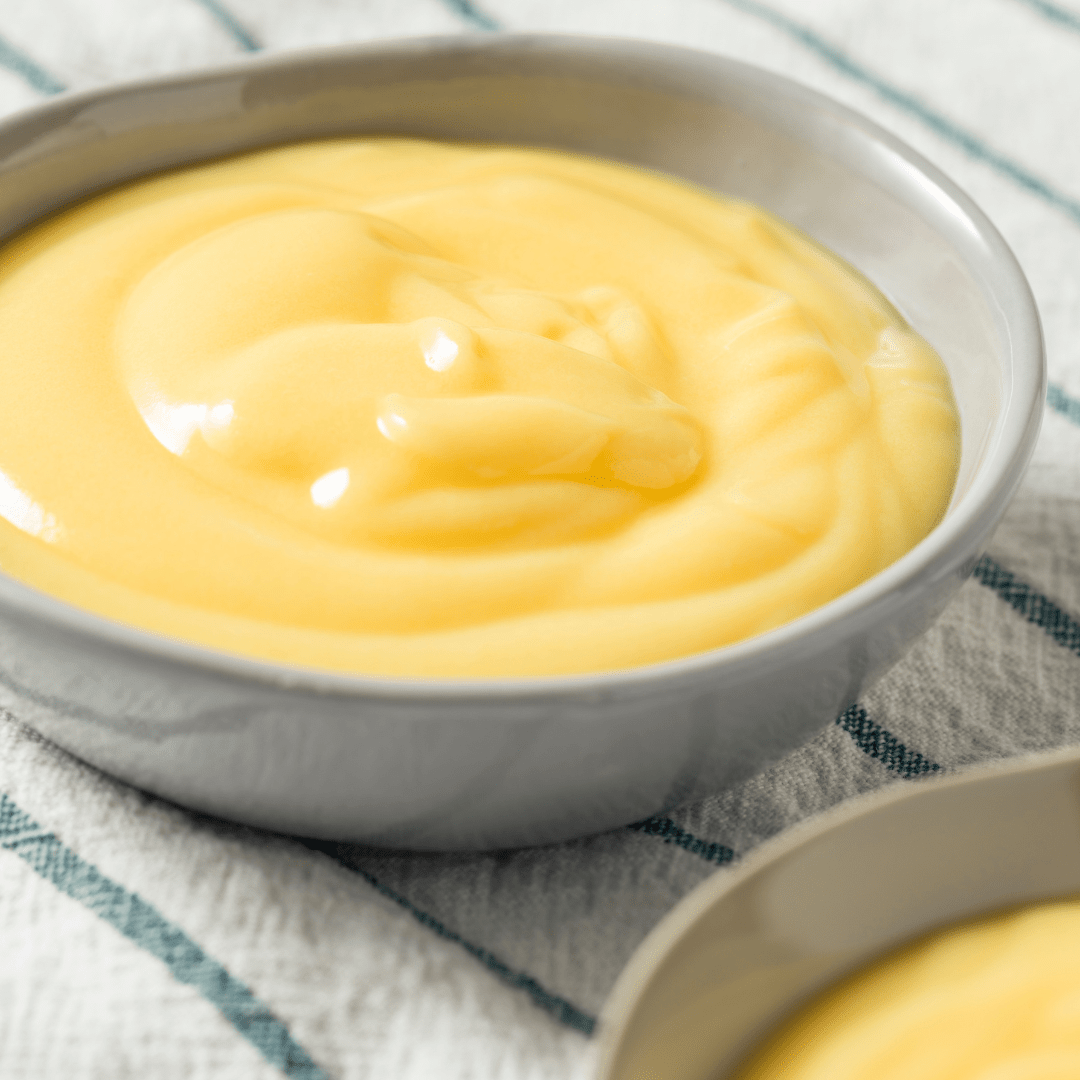
There is nothing quite like the comforting warmth and silky texture of fresh, homemade vanilla custard. Whether you are looking for a stand-alone dessert, a rich pie filling, or a classic topping for fruit desserts, mastering a basic gluten free custard is one of the best skills you can bring into your kitchen.
Many store-bought puddings and restaurant custards rely on wheat starch or pre-packaged mixes that risk cross-contamination. Making your own gluten free vanilla custard pudding from scratch ensures complete control over every ingredient without sacrificing that luxurious, velvety mouthfeel you crave. Walk through the simple techniques to create a flawless gluten free vanilla custard, enjoy delicious variations like a homemade gluten free vanilla banana pudding, and enjoy expert secrets for achieving a perfectly smooth consistency with your homemade custard every single time.
Gluten Free Vanilla Custard Recipe
Ingredients
- 2 cups whole milk
- ½ cups heavy cream
- ½ cups granulated sugar
- 3 large egg yolks room temperature
- 3 tablespoons cornstarch certified gluten free
- ¼ teaspoon salt
- 2 teaspoon pure vanilla extract
- 2 tablespoons unsalted butter chilled & cubed
- 2 large bananas optional – ripe, sliced

Instructions
Scald the Dairy Base
- Prevents burning and accelerates cooking timeIn a medium saucepan set over medium heat, combine the whole milk and heavy cream.2 cups whole milk, 1/2 cups heavy cream
- Heat just until steam rises and tiny bubbles form around the inner edge of the pan (about 175°F / 80°C).
- Do not bring to a full boil. Remove from heat.
Whisk the Dry & Egg Mixture
- Crucial for preventing lumps in the final mixtureIn a separate heatproof mixing bowl, whisk together the granulated sugar, gluten-free cornstarch, and salt.1/2 cups granulated sugar, 3 tablespoons cornstarch, 1/4 teaspoon salt
- Add the 3 egg yolks and whisk vigorously for 1 to 2 minutes until the mixture turns pale yellow and smooth.3 large egg yolks
Temper the Eggs
- Prevents the egg yolks from scramblingSlowly pour about ½ cup of the warm milk mixture into the egg yolk mixture while whisking continuously.
- Gradually whisk in another ½ cup of hot liquid.
- This slowly warms the eggs so they combine smoothly without curdling.
Cook to Thick Smoothness
- Activates the cornstarch thickenerPour the tempered egg mixture back into the saucepan with the remaining heated milk.
- Place the pan over medium-low heat.
- Whisk constantly, making sure to scrape the bottom and corners of the pan, until the mixture thickens and begins to gently bubble (about 5 to 7 minutes).
Finish with Butter and Vanilla
- Ensures maximum shine and rich flavourRemove the saucepan from the heat.
- Whisk in the cubed cold butter and pure vanilla extract until the butter is completely melted and the custard is glossy.2 teaspoon pure vanilla extract, 2 tablespoons unsalted butter
Strain and Chill
- Guarantees a silk-smooth texturePour the hot custard through a fine-mesh sieve set over a glass bowl to catch any stray bits of egg.
- Press a piece of plastic wrap directly onto the surface of the custard to prevent a skin from forming.
- Refrigerate for at least 2 to 3 hours until cold and fully set.
Nutrition
Understanding Custard vs. Pudding
While the terms are often used interchangeably in everyday kitchen chatter, there is a subtle difference between custard and pudding. Traditional pudding relies primarily on starches like cornstarch or tapioca flour for its structure and thickness. Custard, on the other hand, gains its luscious, rich texture and body from egg yolks cooked slowly over gentle heat.
This recipe blends the best of both worlds: egg yolks provide a rich flavour profile and smooth mouthfeel, while a small amount of certified gluten free cornstarch guarantees a stable, foolproof set. The result is a hybrid that satisfies your craving whether you are looking for a light gluten free vanilla pudding or a traditional egg-based gluten free vanilla custard.
Key Ingredients for Flawless Gluten Free Vanilla Custard
To make an exceptional gluten free custard, quality matters. Because the ingredient list is minimal, each element plays a crucial role:
- Egg Yolks: Fresh egg yolks give the custard its golden colour and signature emulsified richness.
- Whole Milk and Heavy Cream: A blend of full-fat milk and cream creates the ideal fat balance, giving you a decadent texture that isn’t overly heavy.
- Gluten Free Thickener: Pure, certified gluten free cornstarch or arrowroot starch keeps this recipe entirely safe for celiac and gluten-sensitive diets.
- Pure Vanilla: Using high-quality vanilla extract or paste elevates a simple gluten free vanilla pudding into a bakery-worthy treat.
- Granulated Sugar: Just enough sweetens the base without overpowering the delicate vanilla notes.
Step-by-Step Techniques for Custard Success
Making custard at home can seem intimidating, but following these key steps will ensure success:
- Temper the Eggs: Adding hot milk directly to raw egg yolks will scramble them. Tempering involves whisking small amounts of hot milk into the egg yolk and starch mixture to gradually raise its temperature before adding it back into the main pot.
- Cook Over Medium-Low Heat: Patience is key. Cook the mixture over gentle heat while whisking constantly to prevent the bottom from scorching.
- Strain for Perfection: Even expert bakers occasionally end up with tiny bits of cooked egg. Pouring your cooked custard through a fine-mesh sieve guarantees a silk-smooth finish every time.
Delicious Variation: Gluten Free Vanilla Banana Custard
One of the most popular ways to enjoy this base recipe is by turning it into a classic, nostalgic banana dessert. To create a irresistible gluten free vanilla banana custard, simply layer warm or chilled custard with freshly sliced bananas and certified gluten free vanilla wafers.
For an extra depth of flavour, fold freshly mashed ripe bananas directly into the cooled custard to make a rich gluten free vanilla banana pudding. If you prefer a simpler fruit profile, topping the gluten free dessert base with caramelized banana slices creates an elegant, restaurant-style gluten free banana custard that will impress any guest.
Frequently Asked Questions About This Recipe
Traditional custards made purely with eggs, milk, sugar, and vanilla are naturally gluten free. However, many commercial brands and restaurant recipes add wheat flour as a thickener. Making a homemade gluten free custard ensures it is safe.
While corn is naturally gluten free, cross-contamination during manufacturing is common. Always look for brands explicitly labeled “certified gluten free.”
Yes! Substitute whole milk and heavy cream with full-fat canned coconut milk or rich oat milk (ensure it is certified gluten free) for a delicious dairy-free alternative.
Custard needs to reach a gentle simmer for the cornstarch to fully activate its thickening properties. Cook until the mixture thickens and coats the back of a spoon.
Press a piece of plastic wrap or parchment paper directly onto the surface of the hot custard before placing it in the refrigerator.
Absolutely! Pour the warm custard into a pre-baked gluten free pie crust, layer with sliced bananas, and chill until set for a magnificent banana cream pie.
Stored in an airtight container with plastic wrap on the surface, it will stay fresh for up to 3 to 4 days.
Freezing is not recommended, as the emulsion breaks down when thawed, causing the liquid to separate and changing the texture.
Pudding is thickened almost exclusively with starches (like cornstarch), while custard uses egg yolks as the primary thickening and emulsifying agent.
Toss fresh banana slices in a tiny splash of lemon juice or pineapple juice before layering them with your gluten free vanilla banana custard.
Yes! Vanilla bean paste is a wonderful alternative that adds visual beauty with real vanilla bean flecks and a deep, aromatic flavour.