There is nothing quite like the aroma of fresh bread baking in the oven, a scent that many in the celiac community thought they might have to leave behind. For years, finding a gluten free loaf that didn’t feel like a brick or crumble into dust was a challenge.
This easy sandwich bread recipe helps change that.
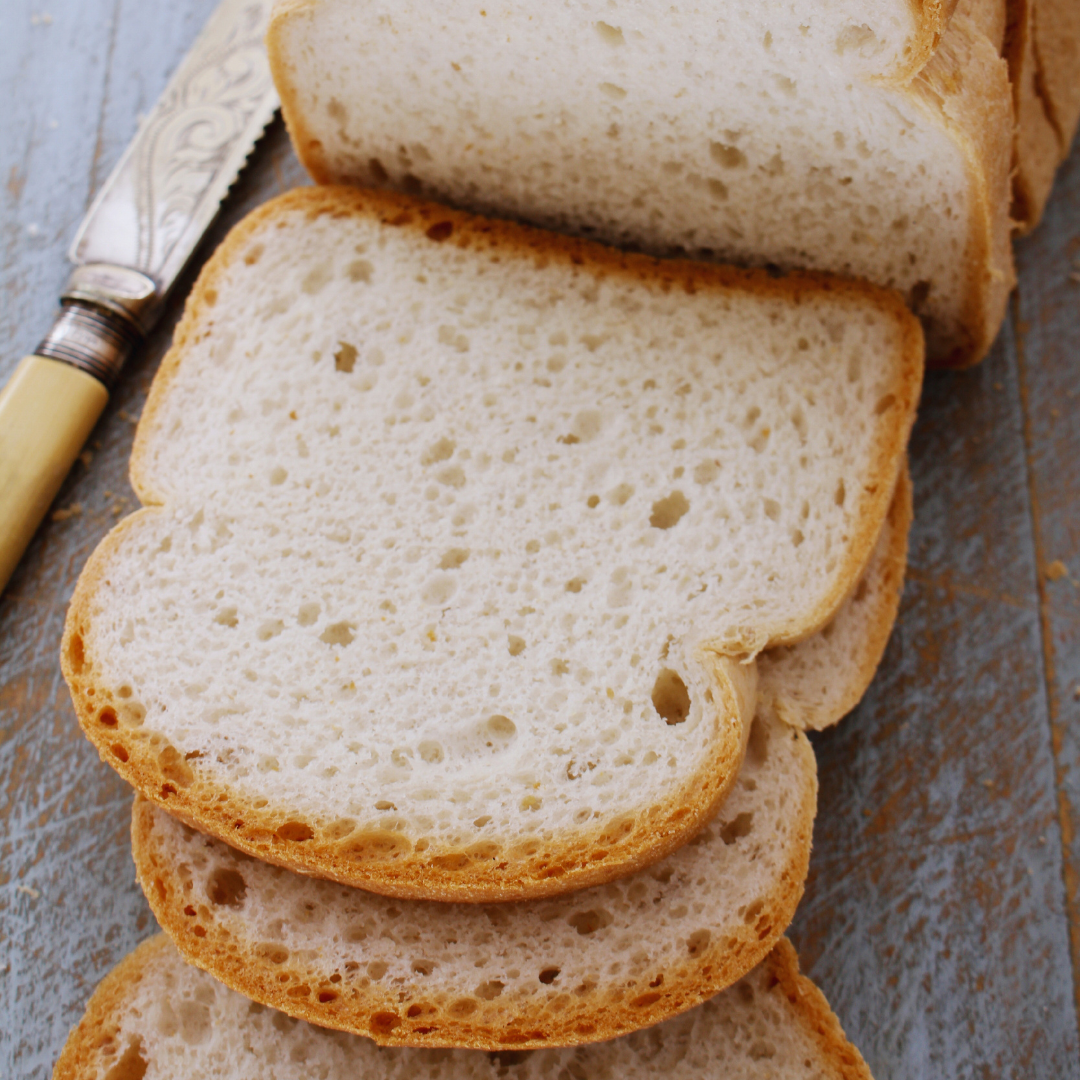
Designed to be approachable for both beginners and seasoned bakers, this homemade loaf provides the soft centre and golden crust you’ve been craving. It’s a versatile, reliable bread that stands up to thick spreads and heavy sandwich fillings alike, ensuring you never have to settle for sub-par store-bought bread options again.
Gluten Free Sandwich Bread Recipe
Ingredients
- 2 ½ tsp active dry yeast
- 3 ½ tbsp sugar - divided
- ¼ cup water - warmed to 110 degrees
- 1 ¼ cups milk - warmed to 110 degrees
- 2 tbsp canola oil
- 2 tbsp butter - softened
- 3 eggs - large
- 1 tbsp lemon juice
- 2 cups white rice flour - 320g
- ½ cup tapioca flour - 66g
- ½ cup potato flour/starch - 81g
- ⅓ cup cornstarch - 46g
- 1 tbsp xanthan gum
- 1 ¾ tsp salt
- 1 tsp baking powder
Instructions
Proof Yeast
- Pour active dry yeast into bowl of an electric stand mixer, along with 1/2 tsp sugar and 1/4 cup warm water2 1/2 tsp active dry yeast, 3 1/2 tbsp sugar, 1/4 cup water
- Whisk to dissolve yeast, then let rest 5 – 10 minutes to proof yeast
After Proofing
- Add in remaining 3 tbsp + 1 tsp granulated sugar, milk, canola oil, butter, eggs and lemon juice3 1/2 tbsp sugar, 1 1/4 cups milk, 2 tbsp canola oil, 2 tbsp butter, 3 eggs, 1 tbsp lemon juice
- Using paddle attachment, whip on low speed to combine
- Add in all remaining ingredients and mix on low speed until combined2 cups white rice flour, 1/2 cup tapioca flour, 1/2 cup potato flour/starch, 1/3 cup cornstarch, 1 tbsp xanthan gum, 1 3/4 tsp salt, 1 tsp baking powder
- Increase to medium speed and mix for 5 minutes
- Pour bread dough into a buttered 9-by-5-inch baking dish
- Spread & smooth top with wet spatula/hands, while slightly doming loaf
Let it Mellow & Rise
- Transfer to a warm place free from draft to rise for 1 hour – 1 hour 15 minutes.
- Preheat oven to 375 degrees during last 10 minutes of rising
- Bake bread in preheated 375 degree oven for 20 minutes, then reduce oven temperature to 350,
- Tent loaf with foil and bake 20 minutes longer or until loaf is done
- Cool in loaf pan several minutes then invert onto a wire rack to cool completely.
- Once cool store in airtight container or resealable bag in refrigerator
- Slice as desired
Notes
Nutrition
The Science of Gluten Free Bread Structure
Baking bread without gluten requires a shift in mindset. In traditional baking, gluten provides the elastic framework that traps gases produced by yeast. Without it, we must rely on a combination of alternative flours and binding agents like xanthan gum to mimic that structure. This gluten free bread uses a precise blend of white rice flour, tapioca starch, and potato starch. The rice flour provides the bulk and crumb, while the starches add lightness and that essential “chew” found in classic wheat bread.
Understanding the Batter Consistency
One of the most common mistakes new gluten free bakers make is adding too much flour. Unlike traditional wheat dough, which you can handle and knead, gluten free bread dough is often more like a thick cake batter. If your dough is stiff enough to knead by hand, the resulting loaf will likely be dense and dry. When you finish mixing this recipe, look for a quick bread consistency, thick, sticky, and slightly elastic. This high moisture content is what keeps the bread soft after it cools.
The Role of Temperature and Yeast
Yeast is a living organism, and its performance depends entirely on its environment. In Canada, our kitchens can often be quite cool, especially during the winter months. For a successful rise, ensure your water and milk are warmed to exactly 110°F (approx. 43°C). If the liquid is too cold, the yeast will remain dormant; if it is too hot, you risk killing it. Using an electric stand mixer is highly recommended here, as the five-minute high-speed whip aerates the batter and ensures the xanthan gum is fully hydrated, creating the “strength” needed for the bread to rise.
Perfecting the Crust and Crumb
The baking process for this loaf involves a two-stage temperature approach. We start at a higher heat to encourage “oven spring”, that final burst of rising that happens when the yeast hits the heat. Halfway through, we reduce the temperature and tent the loaf with foil. This technique prevents the top from over-browning or becoming too hard while allowing the centre to bake through completely.
Slicing and Storage for Longevity
The hardest part of this recipe is waiting for the bread to cool. Resist the urge to slice into a warm loaf! Gluten free bread continues to set its internal structure as it cools. If sliced too early, the steam escapes too quickly, leaving the bread gummy. Once completely cooled, this bread slices beautifully for sandwiches.
To keep your bread fresh, store it in an airtight container in the refrigerator for up to five days. Because gluten free bread lacks the preservatives found in commercial loaves, it also freezes exceptionally well. We recommend slicing the entire loaf first, then placing parchment paper between slices before freezing. This allows you to grab a single slice for the toaster whenever you need it, maintaining that “just-baked” flavour and texture.
Frequently Asked Questions About This Bread Recipe
Yes, you can substitute canola oil with any neutral-flavoured oil, such as vegetable oil or melted coconut oil. Avoid strong-flavoured oils like extra virgin olive oil unless you want that specific savoury note in your bread.
This is often caused by over-proofing. If the dough rises too much before going into the oven, the air bubbles become too large and weak to support the weight of the dough. Aim for the dough to just reach the top of the pan before baking.
In this specific recipe, yes. Xanthan gum acts as the glue that replaces the gluten. Without it, the bread will not hold the air bubbles from the yeast and will likely result in a flat, crumbly mess.
Absolutely. You can substitute the cow’s milk with a preferred dairy-free alternative like almond or soy milk, and replace the butter with a vegan butter substitute or additional oil. Ensure your milk alternative is warmed to the correct temperature.
Because of the starch content, gluten free bread toasts best at a slightly higher setting than wheat bread. It develops a wonderful golden colour and a crisp exterior that holds up well to butter and jams. We often use our gluten free toaster oven for best toasting results.
It worked!!! Thank you, thank you, thank you. We are very excited to have bread that’s homemade again.
First time making GF bread. Always wanted to but was nervous. Came across this recipe and I knew I could do it. Both loaves came out beautifully and tasted delicious.
Thank you for the easy recipe. Making more tomorrow!
I go to see a few sites and blogs daily to read, unlike many, this one provides quality posts and recipes. A delicious bread recipe, can’t wait to make it for others to try too.
Everyone loves it! Whenever my family get together and share this bread, everyone happy.
Great site, continue the good work!
Enjoyed this gluten free bread. I like this recipe, enjoyed this one. Thank you for putting up.
I have never made bread before and this recipe made it so easy! I kinda messed up the first time but the second time worked out perfectly!!
This is the best ever.
Thanks for sharing.
My family and neighbours love it and its easy to make.
Easy recipe that is yummy! thank you!
I’ve been making bread for many years and have tried many different recipes. This recipe is really the best! I keep coming back to it and I always make it a few times a month it’s definitely my go to. It’s delicious and does not last long in my house! 🙂
Hi there,
Your bread recipe was good. Added honey for a little extra and yum!
Finally, a loaf that doesn’t crumble! I have tried so many gluten-free bread recipes, and this is the first one that actually holds together for a sandwich. The instructions are very clear, making it easy for someone who isn’t a pro baker.
I was intimidated by yeast baking, but this recipe was straightforward. The tip about the batter consistency was a lifesaver. My kitchen smells amazing!
Success on the first try! I’m new to the gluten-free world and was worried about baking. This loaf came out perfectly golden and soft. Thank you for such a reliable resource.
No complicated steps or weird ingredients I couldn’t find at my local grocery store. It’s just good, honest sandwich bread.
The best for grilled cheese sandwich!
We made grilled cheese sandwiches last night, and the bread toasted up so beautifully. It has a great flavour that isn’t too overpowering.
I am the world’s worst Baker. This bread recipe is amazing. Believe me, if I can do it anyone can! Kids loved the bread. Thank you I will be definitely be making more gluten free bread at home!
Most GF bread feels like a brick, but this one is actually soft to the touch. I love that I don’t have to toast it just to make it edible.
I used almond milk and a vegan butter substitute, and the loaf still turned out fantastic. It’s great to have a recipe that is so versatile.
I sliced the whole loaf and froze it with parchment paper between the slices as suggested. It toasts up perfectly straight from the freezer!
The fact that there is no kneading required makes this so much faster than traditional bread. My stand mixer did all the heavy lifting.
The mix of rice flour and starches is spot on. It has a lovely light crumb that isn’t too “holey,” making it great for spreading cold butter.
A lot of gluten-free recipes have a gritty or sandy mouthfeel, but this one is incredibly smooth. The xanthan gum really does its job here.
Finally, a gluten-free loaf that is large enough for a real sandwich. It’s sturdy enough for ham and cheese without falling apart in the lunchbox.
I’m saving so much money making my own bread, and the quality is ten times better than the frozen loaves at the supermarket.
Finding a safe, homemade option that tastes this good is a relief. I feel much better knowing exactly what ingredients are going into my bread.
I love that this is nut-free and can be easily made dairy-free. It’s a very inclusive recipe for families with different dietary requirements.
Following the two-stage temperature tip really worked. The crust is golden and slightly crisp, while the centre stayed moist and soft.
We used a slightly older loaf for French toast this morning, and it was incredible. It soaked up the egg mixture perfectly without becoming mushy.
It’s nice to find a recipe that uses measurements and ingredients that are easy to find here in Canada. Highly recommended!
This bread is sturdy enough to hold a thick layer of avocado and a poached egg. It’s my new favourite weekend brunch staple.
I was impressed by how well this kept in the fridge. Usually, I have to freeze GF bread immediately, but this stayed nice for a few days.
I dried out some cubes of this bread to make gluten-free stuffing for dinner, and it held its shape perfectly. Everyone loved it.
My kids love this with a bit of cinnamon and sugar. It’s the perfect comfort food for a chilly afternoon.
I made this for my husband, who doesn’t usually eat gluten-free, and he couldn’t tell the difference. This is a huge win for our household.
Approved by my picky kids. Sending my son to school with gluten free sandwiches used to be a struggle because the bread was always too dry. He actually ate his whole lunch today!
A staple in our house. I’ve been making this every Sunday for a month now. It’s a dependable recipe that works every time. The texture is exactly what I’ve been missing.